 Get more out of Webroot.
Take advantage of all the great security features included with your protection.
Using the world’s most powerful cloud security technology, Webroot SecureAnywhere protection keeps you safe online—no matter how or where you connect.
Set Up Your Webroot Account Today
The easiest way to manage security for your devices, whether you have one machine or several, is at your fingertips. Access protection information and cloud-based features from any computer – anywhere.
It's easy to get started
- Open your browser and go to my.webrootanywhere.com and click Sign up now.
- Enter your account details and register.
- You will receive a confirmation email at the address you provided. Follow the instructions in the email to confirm your account.
- When prompted, enter your Webroot account credentials to log in.
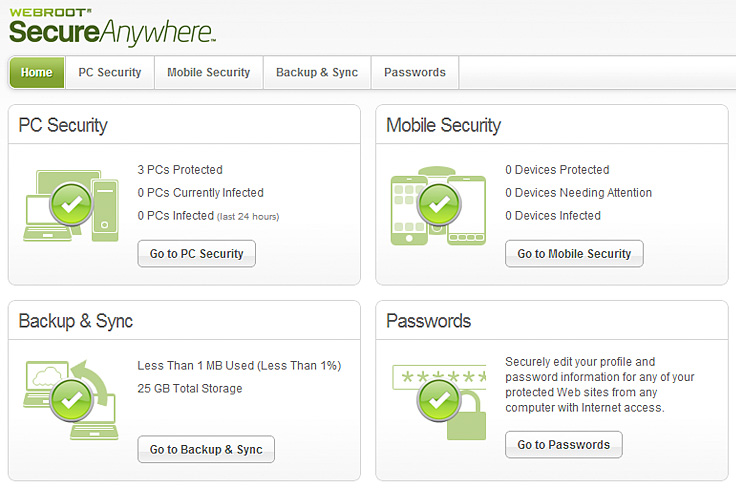
You can now view protection information, set up mobile devices, send commands, and manage features.
An example of what you'll see when you log in:
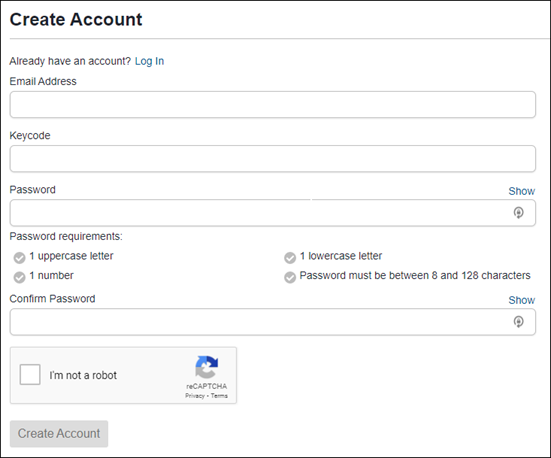
Create An Account
Peace of mind through award-winning security and protection. Now you can access Webroot antivirus and Carbonite cloud backup in one easy spot! Simply create an account to download, install, and manage your products.
It's easy to get started
- In your browser, go to: https://myaccount.carbonite.com/createaccount
- Enter the following information.
- Email: The email you want to have associated with your account.
- Keycode: Locate your keycode on your purchase receipt
- Password: Create a password that has at least one uppercase letter, one number, one lowercase letter, and a minimum of 8 characters.
- Confirm Password: Repeat the created password in the previous step.
- Select the checkbox next to I’m not a robot.
- Click Create Account.
The LastPass® Password Manager is included with subscriptions to Webroot SecureAnywhere® Internet Security Plus and Internet Security Complete. If you're using a different SecureAnywhere product and would like to access this feature, click Upgrade Now.
LastPass® Password Manager
The password management feature of Webroot protection is powered by LastPass, the most trusted name in secure password management. It protects your login credentials and helps prevent your accounts from being hacked. With the LastPass Password Manager, one click securely logs you in to all your sites, and provides simple access for computers and mobile devices.
It's easy to get started
1. If you have already created your Webroot account, skip ahead to Step 2.
If you have not yet created your Webroot account, visit my.webrootanywhere.com or click Access Web Console via your Webroot software to get started. For more information, click here.
2. Log in to your Webroot account at my.webrootanywhere.com.
3. From the Home tab, locate the Password Manager Powered by LastPass section and click Set Up Now.
4. Follow any prompts to confirm or complete the Password Manager setup. You will now be redirected to the LastPass welcome page. Click Sign Up.
5. Fill out the form to create your LastPass account, then click Create My Account.
6. After successfully creating your account, follow the prompts to install the LastPass browser extension.
Manage passwords on your mobile devices
1. From your mobile device, visit Google™ Play or the Apple® App Store, depending on your device's operating system.
2. Search for LastPass Password Manager in your app store.

3. After installing the LastPass Password Manager app on your Android or iOS device, open it and log in with your LastPass account.
4. You can now store, access, and manage passwords and your LastPass account from your mobile device.
Android Protection
Webroot protects your personal data and identity when browsing, shopping, banking and sharing stuff online from your Android™ devices.
1. On your Android™ device, open the Play Store and search "Webroot".
2. Look for the "Mobile Security" app and tap the green "Install" button.
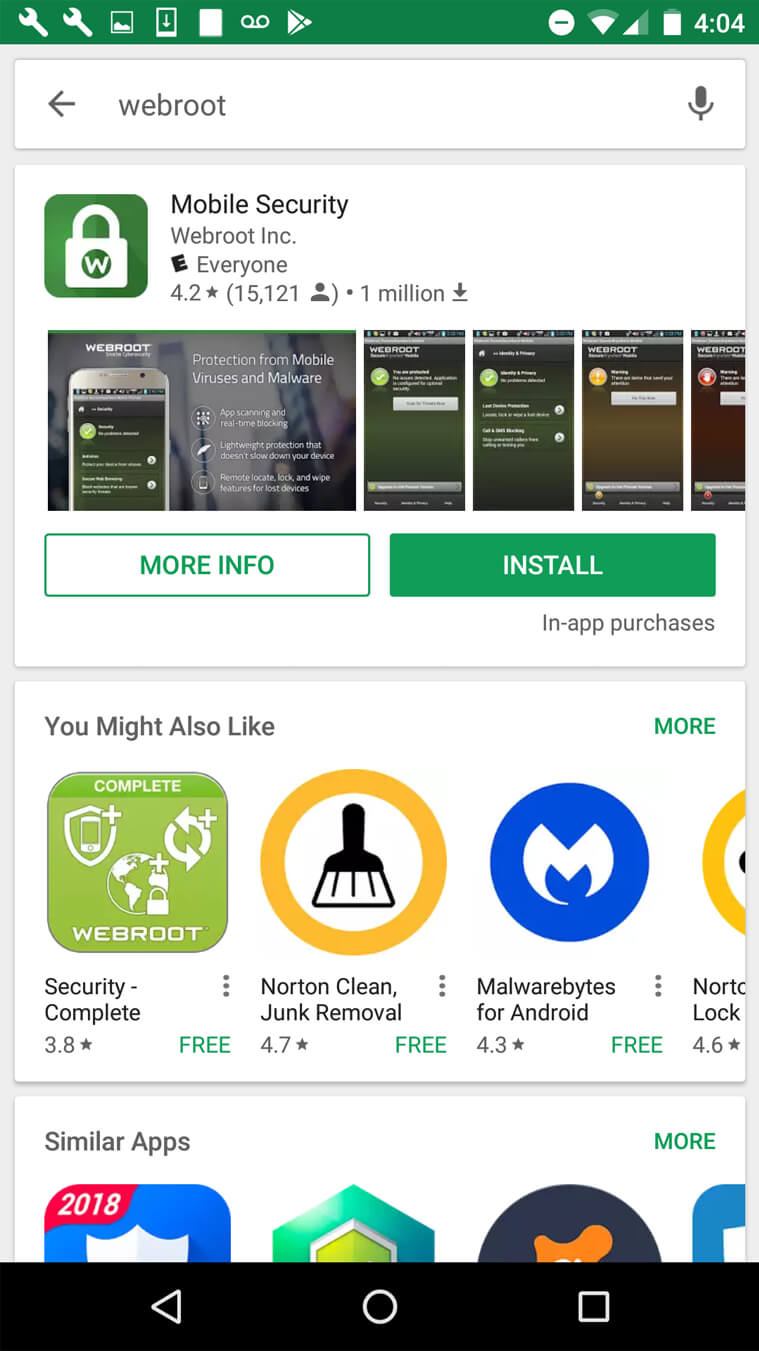
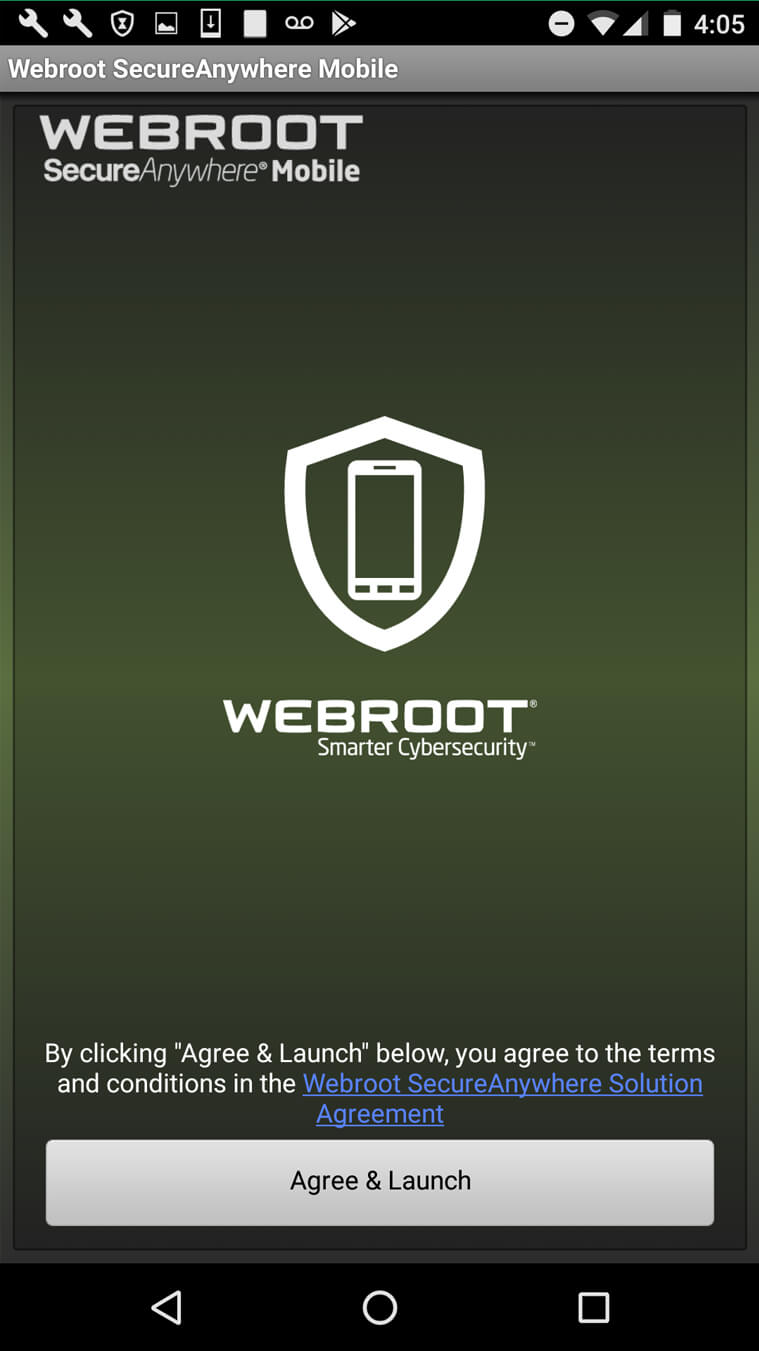
3. Once the app is installed, open it and tap the “Agree & Launch” button.
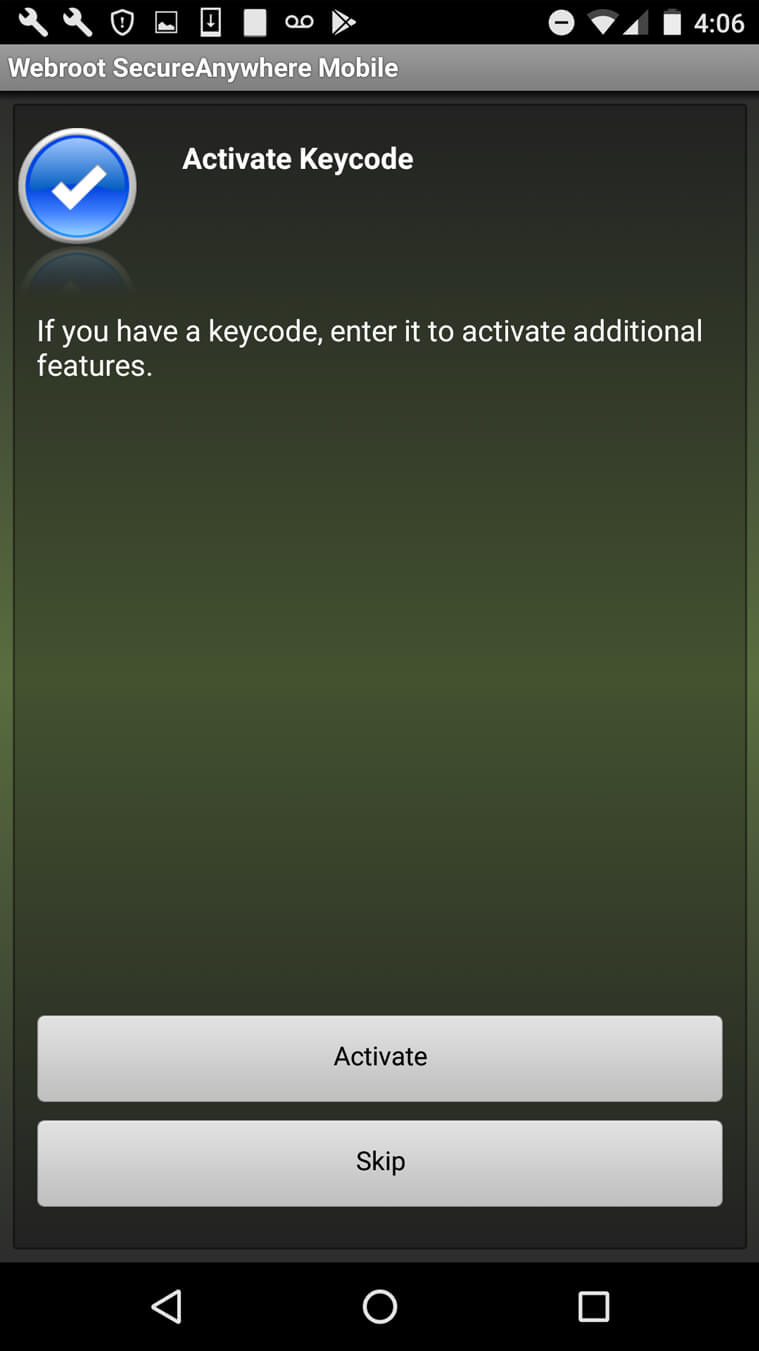
4. Next, tap the “Activate” button.
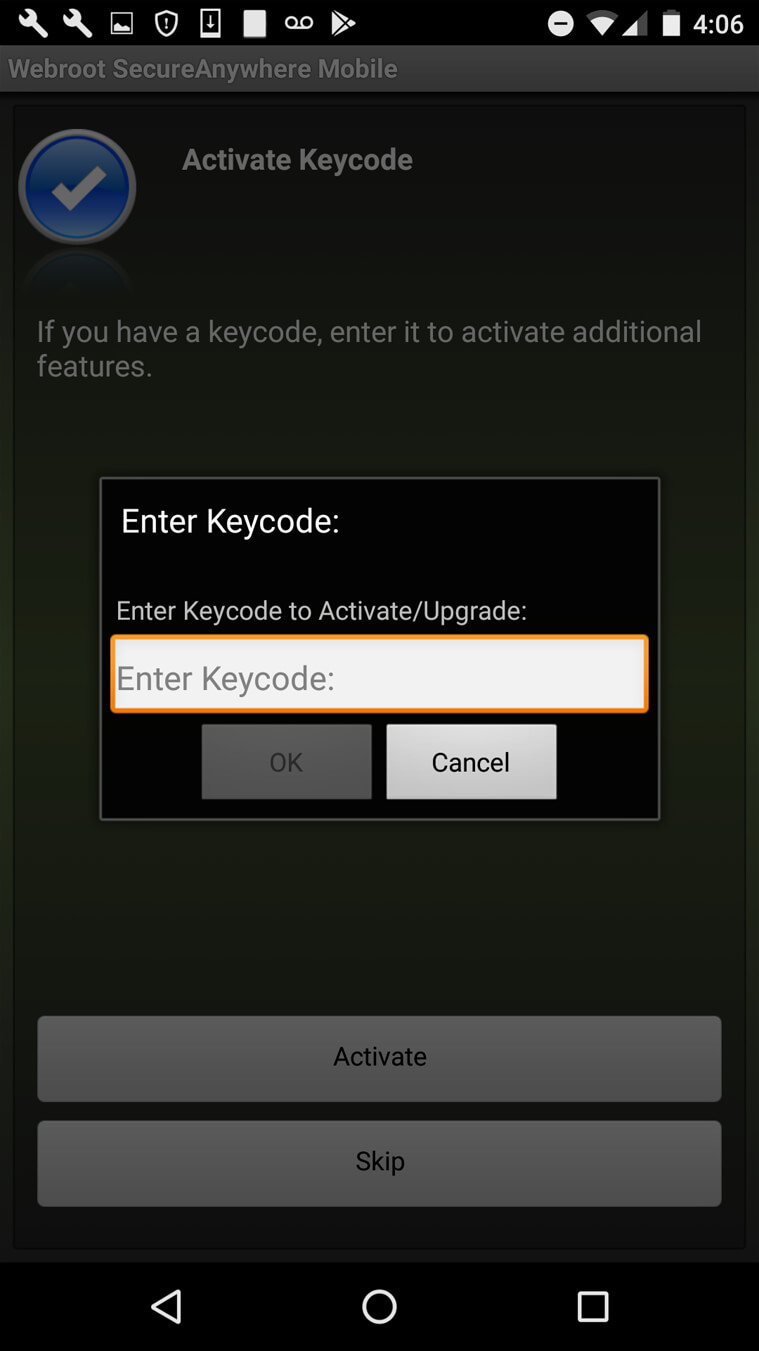
5. Enter your keycode, then tap "OK".
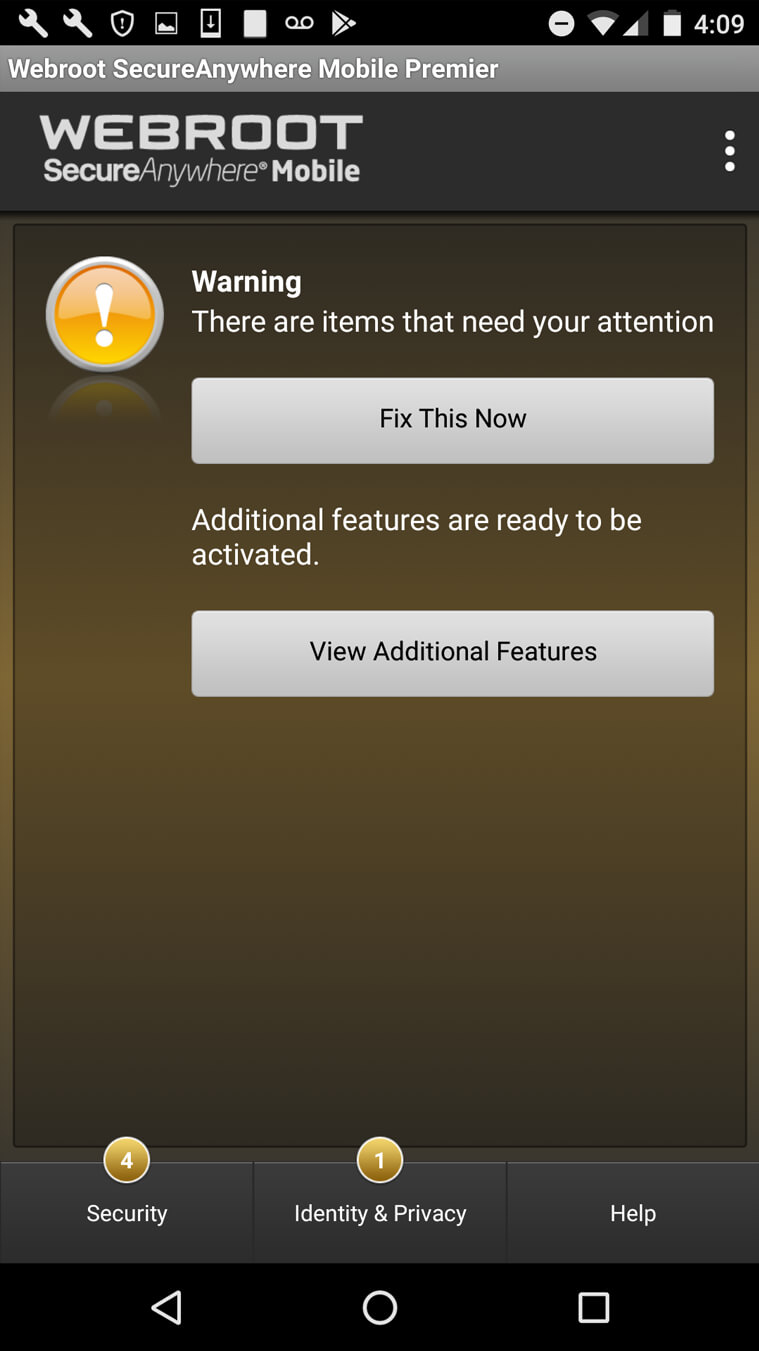
6. If there are items that need your attention, tap “Fix This Now” and follow any prompts on the screen to resolve the issues. These issues may vary, depending on your device and configuration.
System Optimizer
System Optimizer protects your privacy by wiping away traces of your online activity, as well as files that show your computer use. Reclaim hard drive space by eliminating browser cache, cookies, and temporary files.
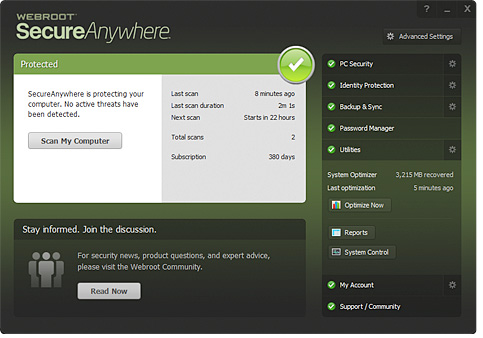
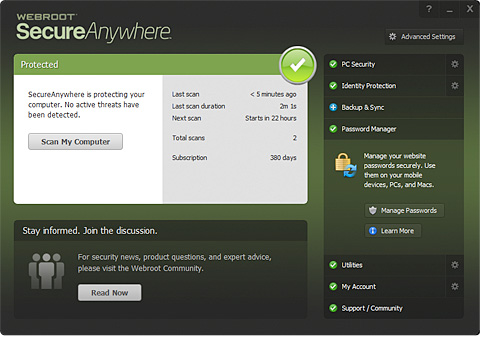
To get started, open Webroot SecureAnywhere, click Utilities, then click System Control.
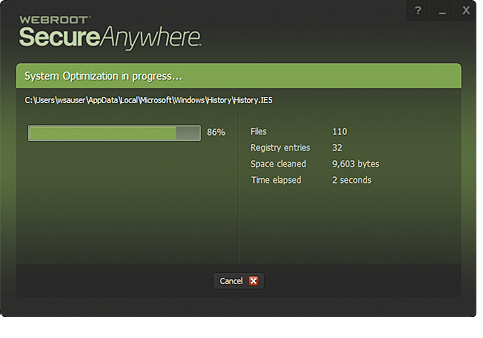
System Optimizer will now scan for and erase unneeded files.

To access more options and settings, click the gear icon next to Utilities
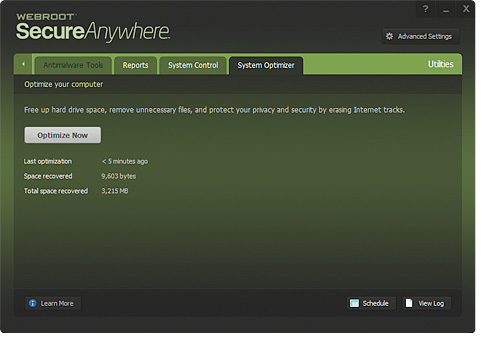
Click Schedule if you want System Optimizer to run automatically at certain times.
System Optimizer Scheduler
The System Optimizer Scheduler lets you schedule when the System Optimizer runs on your devices to wipe away traces of your online activity and reclaim hard drive space by removing your browser cache, cookies, and temporary files.
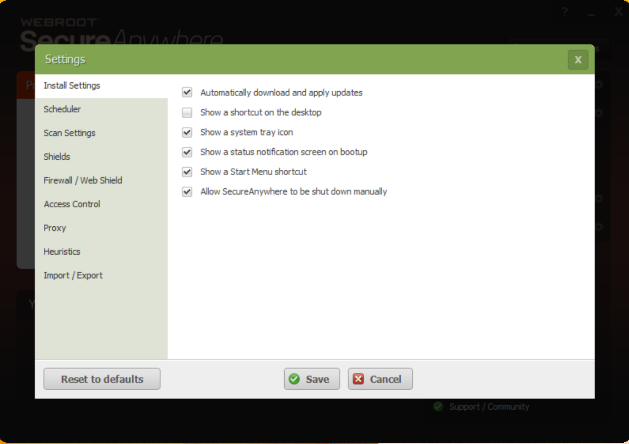
To adjust settings, click advanced settings from the top right of the home screen of your Webroot console. From there, select "schedule" on the top left navigation.
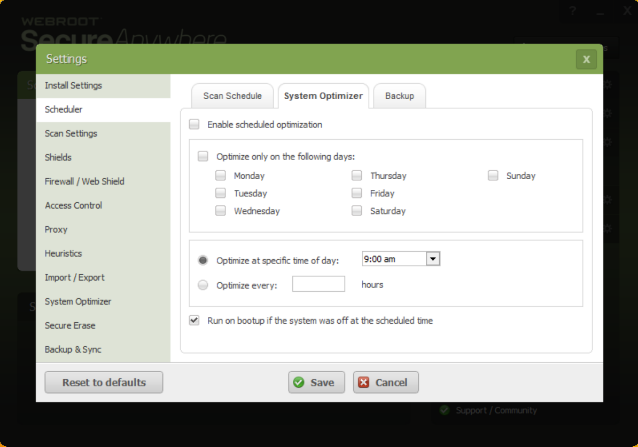
Click the "System Optimizer" tab. Enable and customize optimization schedule based on preferences.
System Analyzer
System Analyzer scans for threats, security vulnerabilities, and other details about your computer, including critical OS, hardware and software information. This way, you can spot potential risks and security gaps before they become a problem, as well as identify causes for system slowness.
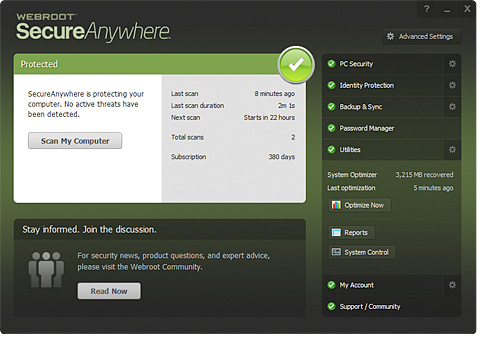
To get started, open Webroot SecureAnywhere, click Utilities, then click System Control.
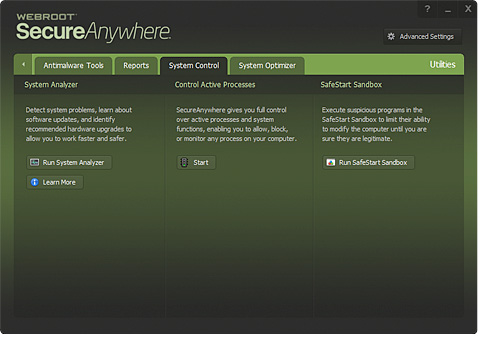
Click Run System Analyzer.
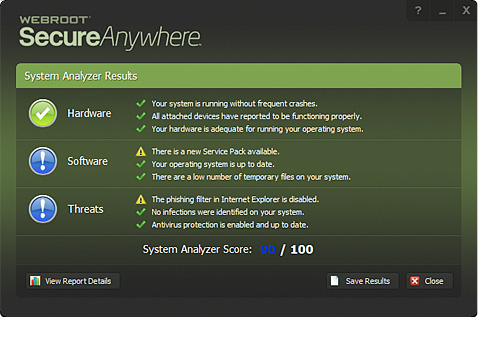
After the analysis is complete, System Analyzer provides you with a report and recommendations.
Identity Shield
The Identity Shield secures your browsing sessions against Trojans, phishing attacks, and identity theft. It ensures that your personal information – such as usernames, passwords, security codes, account numbers, and credit card numbers – stays protected as you bank, shop, and interact online.
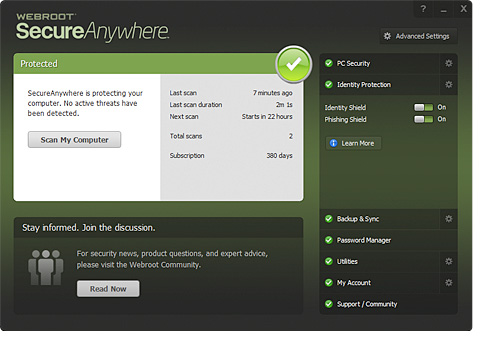
To access more options and settings, click the gear icon next to Identity Protection.
By default, the Identity Shield is always on and automatically protects HTTPS sites and social networks. When the Identity Shield is actively protecting your browsing session, you notice a lock on your Webroot system tray icon. 
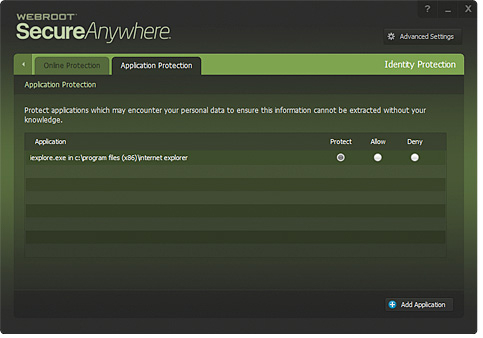
Click Application Protection, then click Add Application to customize.
Phishing Shield
The Phishing Shield identifies and blocks fake websites that trick you into entering your personal information. As you browse, URLs are evaluated in real time for phishing risk. Analysis includes looking at page content, domain reputation and numerous other factors.
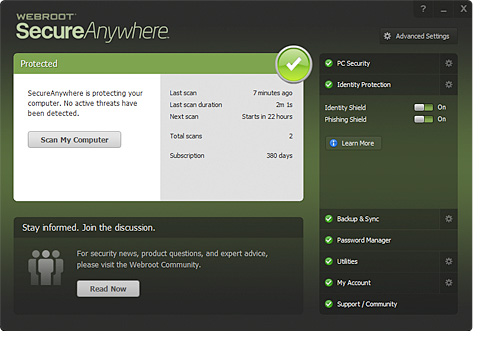
The Phishing Shield is on by default. We recommend you leave it on for maximum protection.
Realtime Shield
The Realtime Shield blocks threats that are listed in the Webroot® Intelligence Network and in our community database. If the shield identifies a known threat, it immediately blocks and quarantines the item before it causes damage to your computer or steals your information. If it detects a suspicious file, SecureAnywhere opens an alert and prompts you to block or allow the item.
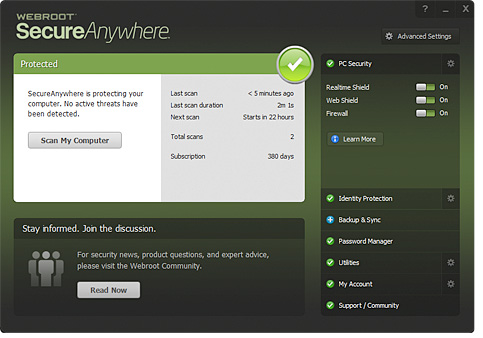
By default, the Realtime Shield will be on and pre-configured with the recommended settings.
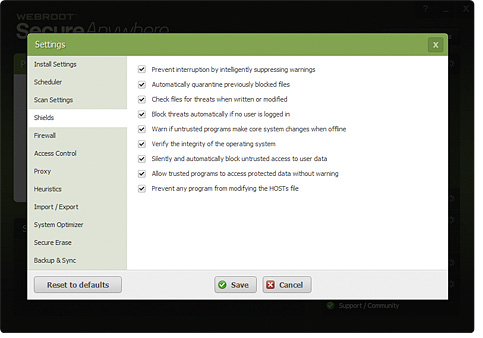
To adjust settings, click Advanced Settings in the upper right corner of the home screen, then click Shields. Detailed shield definitions can be found in the User Guide.
Firewall/Web Shield
The Firewall monitors data traffic traveling out of your computer. It looks for untrusted processes that try to connect to the Internet and steal your personal information. The Web Shield alerts you to websites that may pose a threat as you browse. Likewise, when you use a search engine, the Web Shield analyzes the search results and displays an image next to each link, letting you know whether it's a trusted site or a potential risk. By working along with the Windows firewall, your network has both inbound and outbound protection.

From the main screen, both Firewall and Web Shield can be accessed under PC Security, and will be on and pre-configured with the recommended settings.
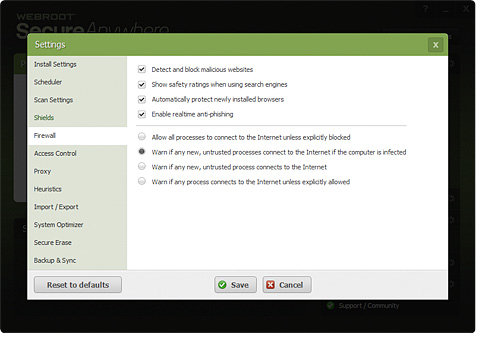
To adjust settings, click Advanced Settings in the upper right corner of the home screen, then click Firewall.
Quarantine
Once items are moved to the Quarantine, they are disabled and cannot harm your computer. However, you may want to delete or restore quarantined items in some circumstances:
- If you want to conserve disk space, you can delete items permanently
- You cannot restore items once permanently deleted from quarantine
- If a program is not working correctly without a quarantined item, you may choose to restore it
To view the quarantine, click the gear icon next to PC Security, then click Quarantine. If you have files in the Quarantine, you can select a file and click either Delete Permanently or Restore.

To view the quarantine, click the gear icon next to PC Security, then click Quarantine.
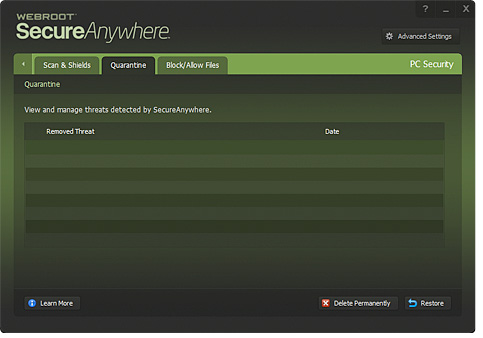
If you have files in the Quarantine, you can select a file and click either Delete Permanently or Restore.
SecureWeb iOS® Protection
Specifically designed for iPad® and iPhone® devices, the Webroot® SecureWeb™ browser protects you from phishing attacks and infected sites as you surf the web.
It's easy to get started.
1. Open the App Store on your iOS device and search for "Webroot SecureWeb Browser."
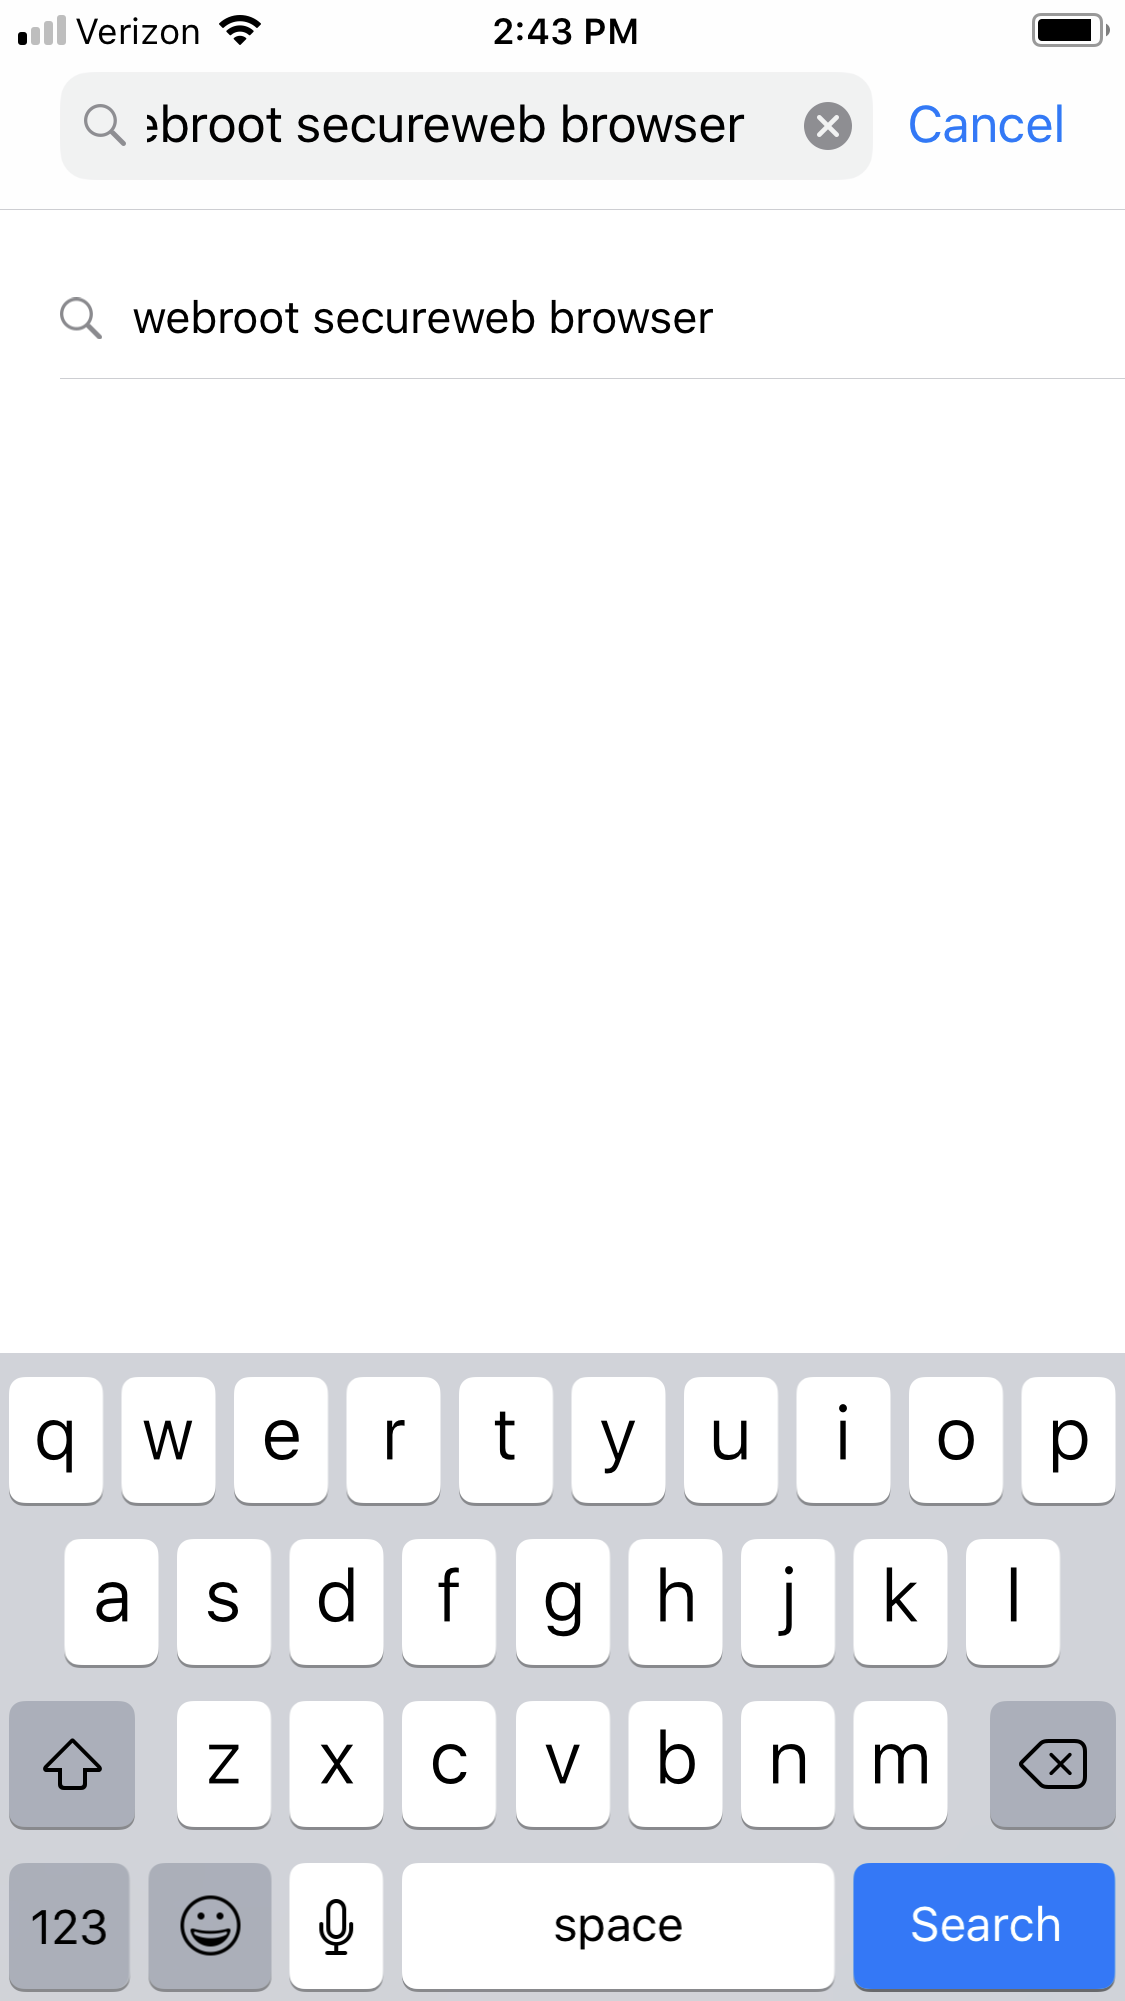
2. Tap the download button.
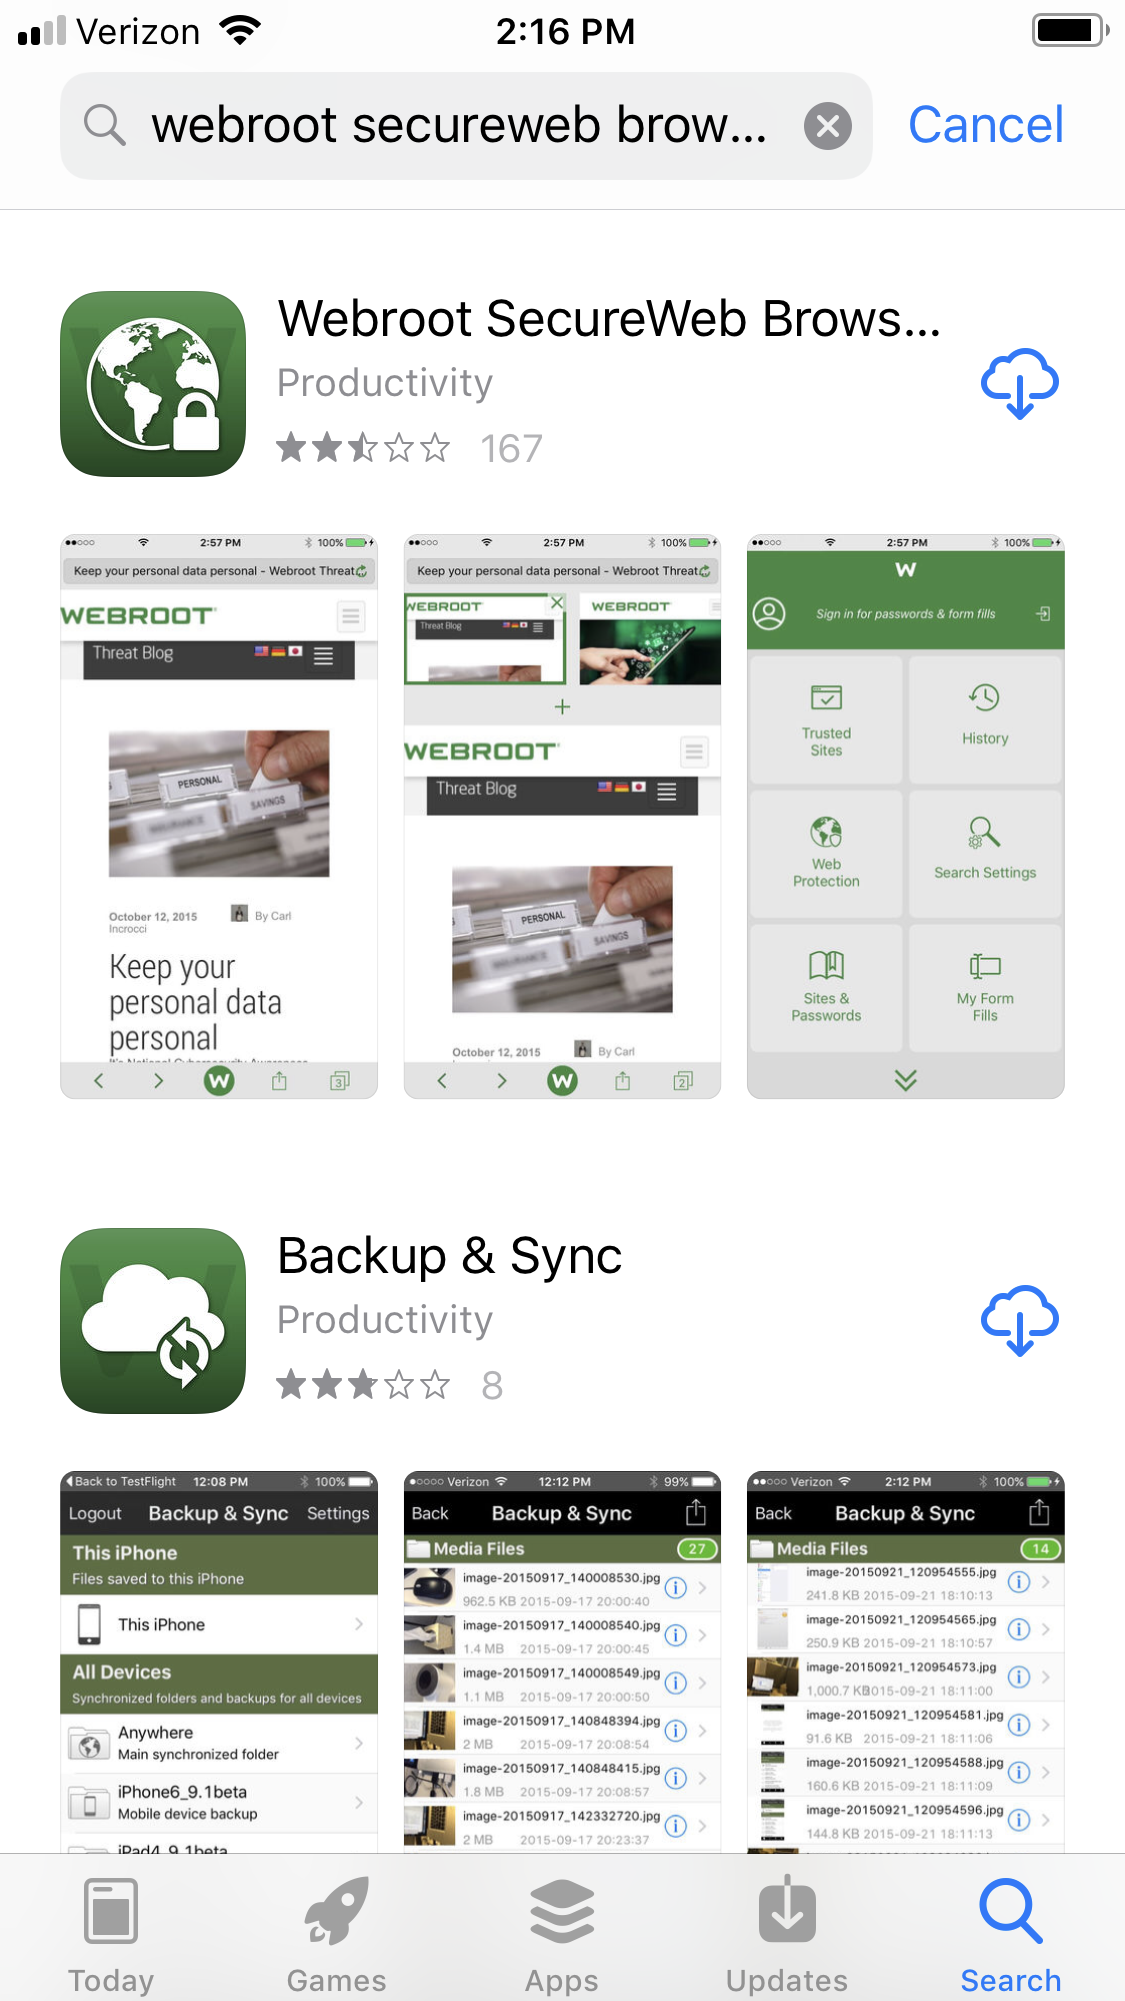
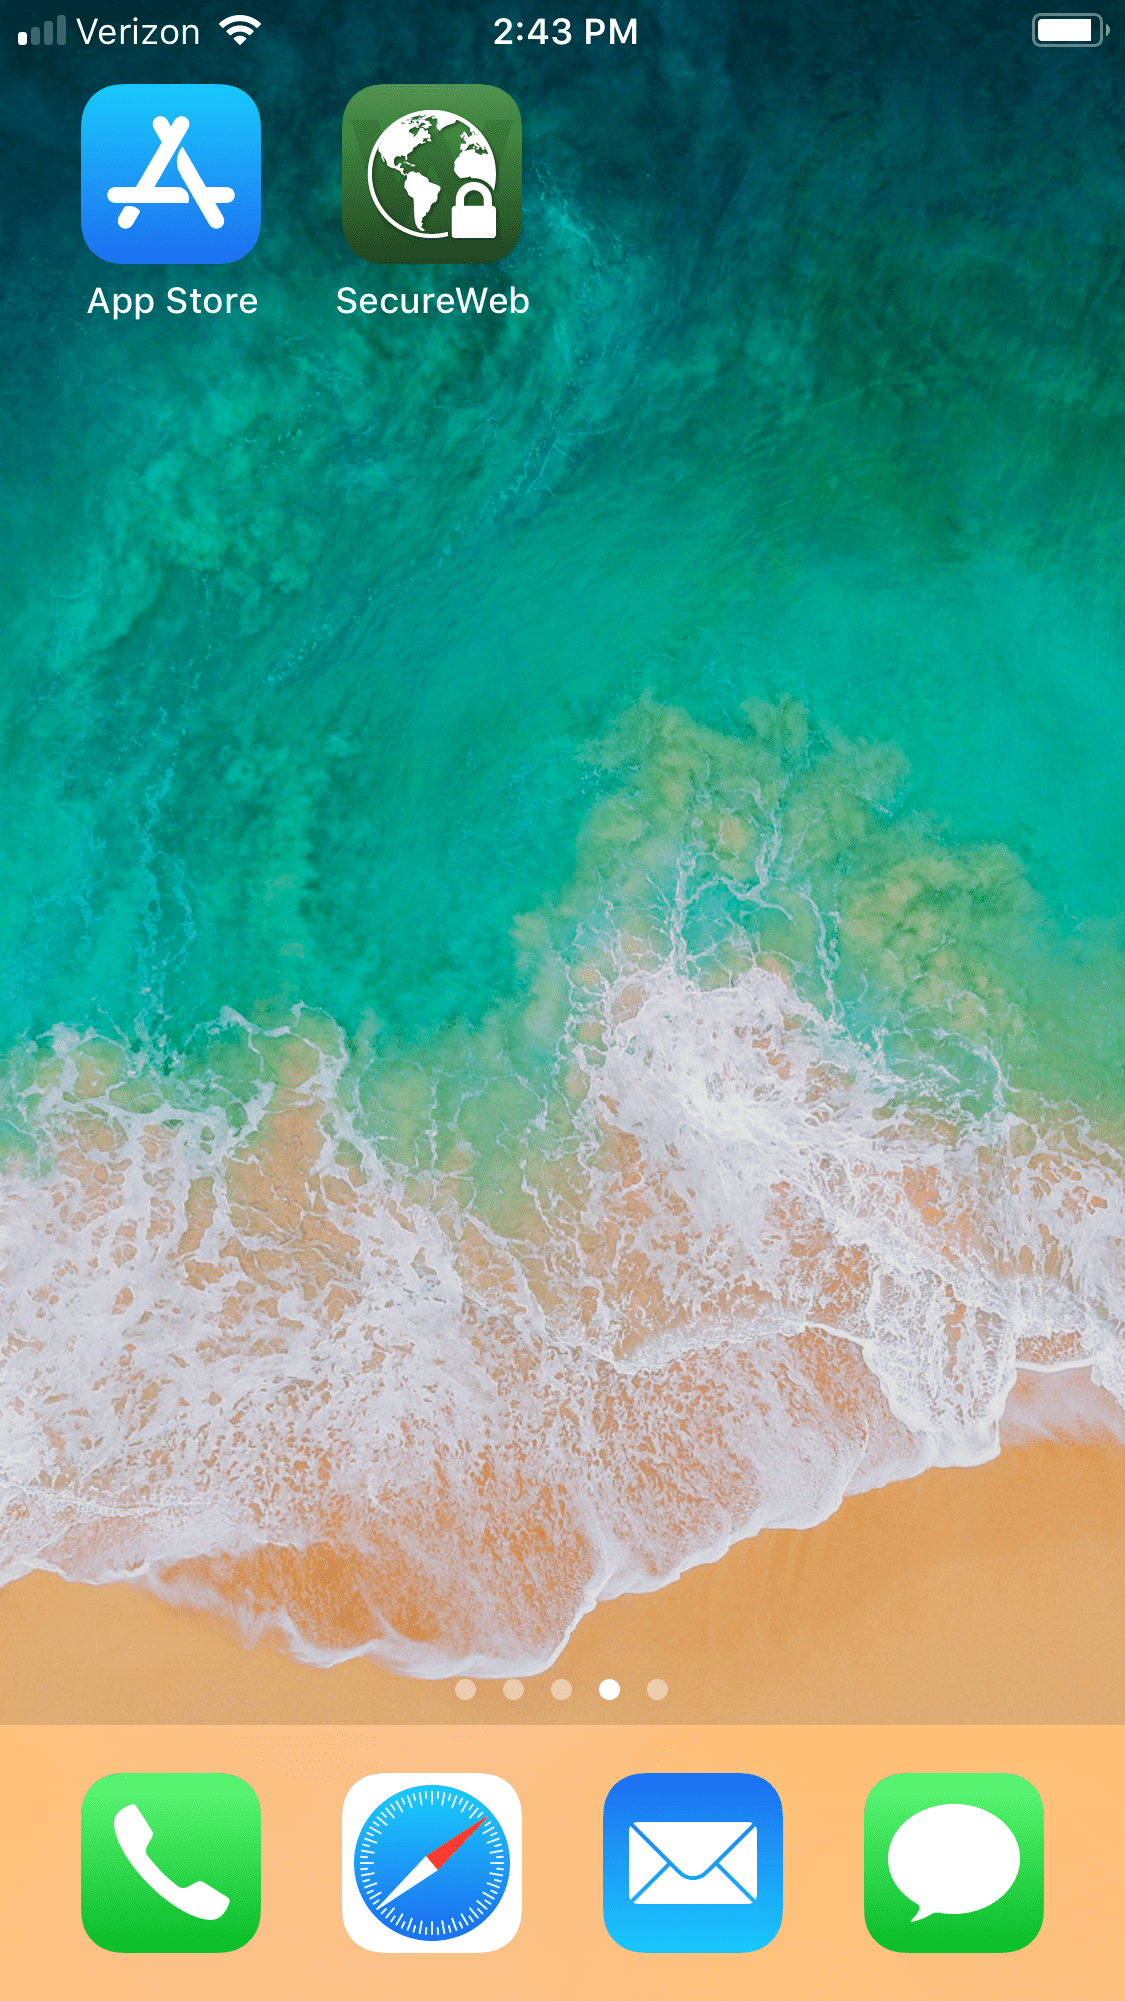
3. Once installed, tap the SecureWeb Browser icon to launch the app.
We recommend using the SecureWeb browser whenever you browse, shop, or bank online. Enter a website address to begin browsing.
Chromebook™ Protection
Webroot® Security for Chromebook™ offers powerful protection that’s specifically designed for Chromebook and will keep you and your kids safe from the latest cyber threats.
Getting started
App Installation:
1. Visit the Google Play™ store on your Chromebook™ device and search "Webroot for Chromebook."
2. Click “Install”
3. Open the Webroot app

4. Either create a new customer account with your keycode, email and password or login to your existing account. Your keycode can be found in your purchase receipt.

5. Click “Agree” to agree to Webroot’s Subscription Terms.

6. Click the “Go” button on the Welcome to Webroot page to get started.
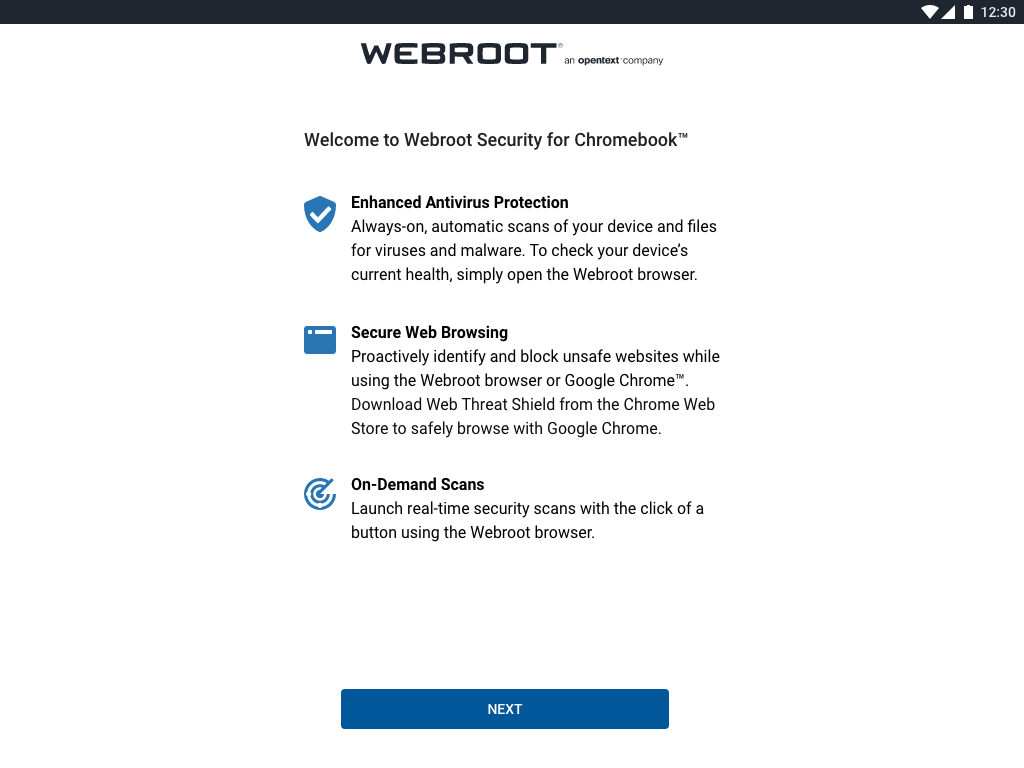
7. Click “Allow” to allow Webroot to access photos, media and files on your device. This gives Webroot permission to scan your device for viruses and malware.
8. Webroot will automatically scan your device and let you know if your Chromebook™ is safe or it will guide you through removing anything harmful.
Browser Security:
Browse safely and run on-demand scans while using Webroot’s proprietary secure browser or download Webroot Web Threat Shield for Google Chrome™ and browse knowing you’ll be alerted to dangerous sites.
1. After your first scan, you will receive a notification from Webroot to set up additional security for Google Chrome™. You can either click the notification or manually set up security for your Chrome browser later, in Settings.

2. To manually set up Additional Security for Chrome, go to the menu and select Settings.
3. Select “Additional Security for Chrome”
4. Click “Download”
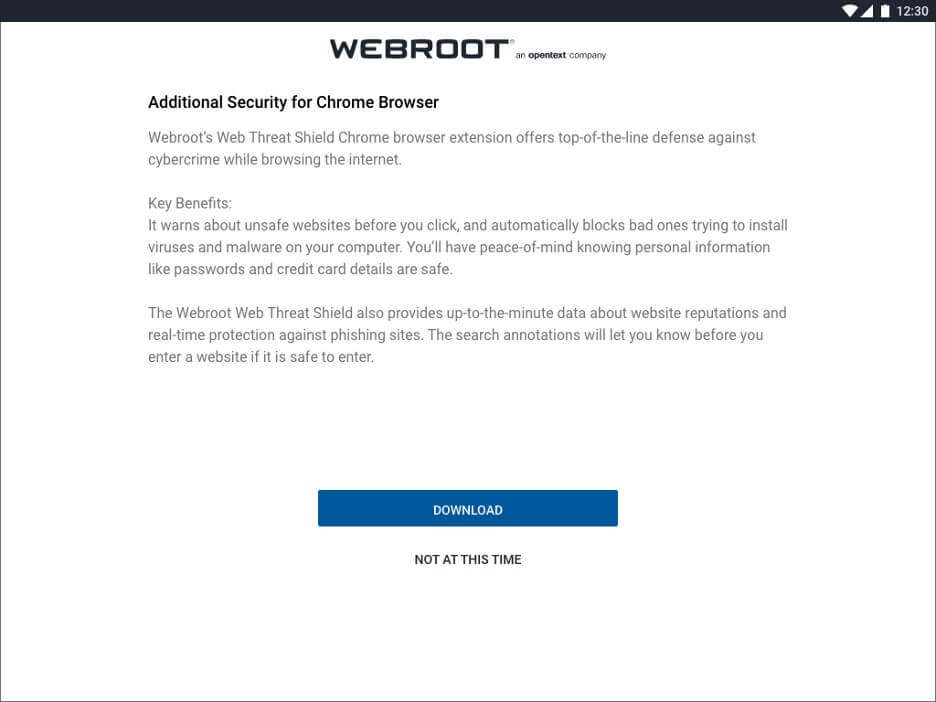
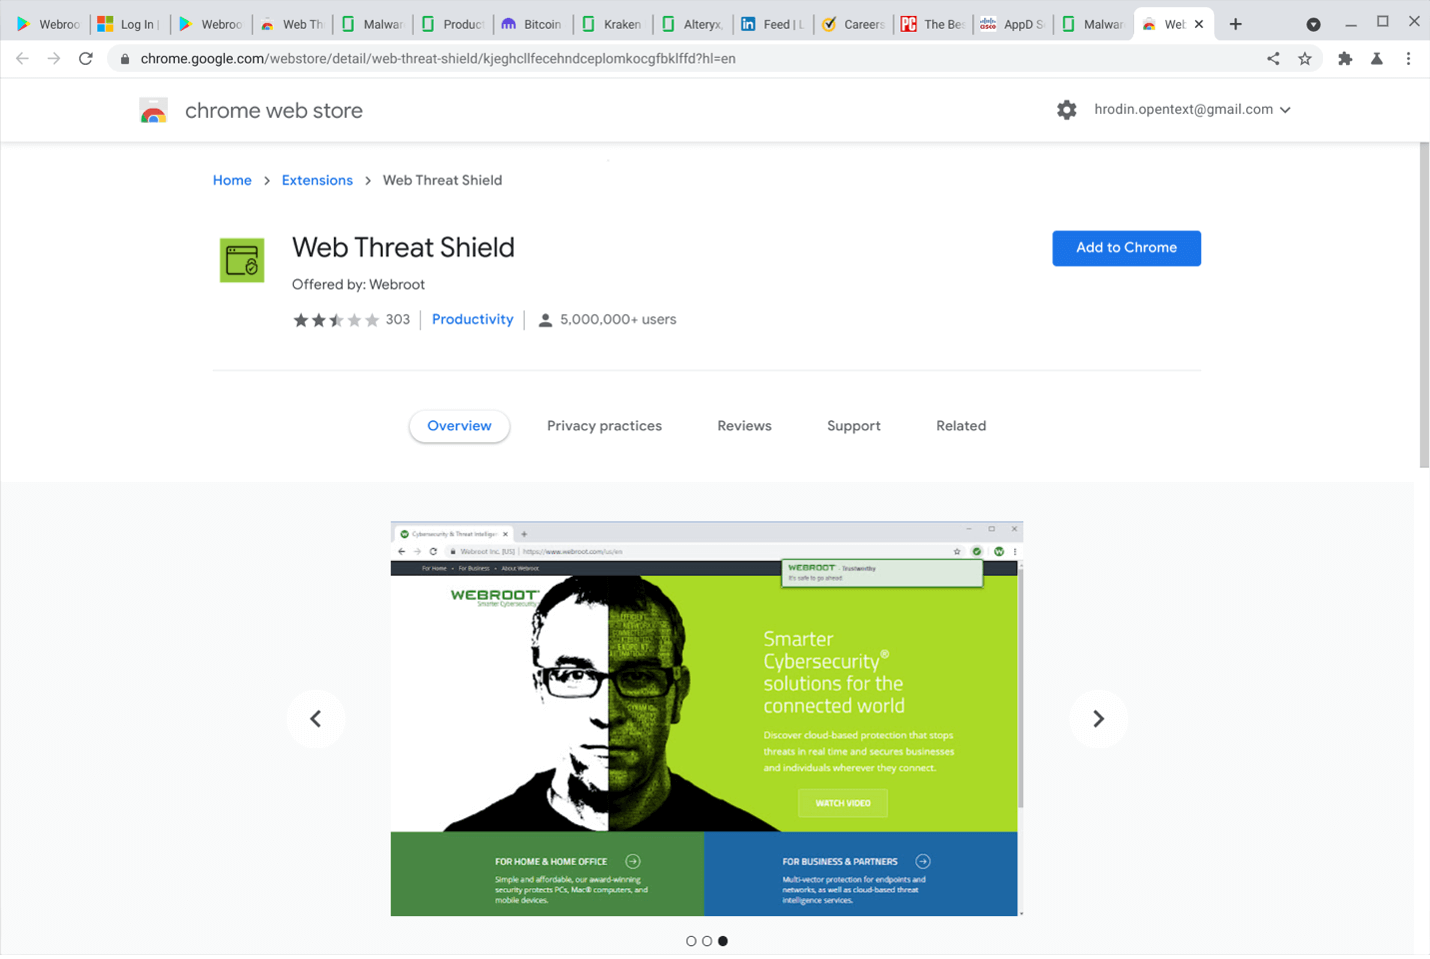
5. Once you arrive at the Chrome Web Store, click “Add to Chrome” to add the Webroot Web Threat Shield browser extension.
Installing Carbonite Safe
Carbonite Safe provides automatic backup and recovery with unlimited, encrypted cloud storage for all your irreplaceable files. Carbonite continuously backs up your computer files and makes it easy to restore files after accidents, computer crashes, and more.
Here is how to Install Carbonite Safe on your computer.
It's easy to get started
First, sign into https://www.webroot.com/MyAccount from the computer you want to back up, then click the Backup tab. From the Backup section, click Install Now.
Next, download the Carbonite setup file by clicking Download Now. Depending on your web browser, use the instructions below this video to open Carbonite.
Within the User Account Control window that appears, click Yes. Next, click I agree on the Terms of Service to begin installing Carbonite. When prompted, enter a Computer nickname for your device and click Next.
Next you will choose your backup settings. Your options are as follows:
You may select Automatic settings in which Carbonite selects the C:\Users folder for backup which is the default location for documents, pictures, music, and other important files.
You could also select Advanced settings in which you the user chooses what gets backed up, when to schedule your backups, and decides on an encryption method.
After you configure your backup settings, click Start backing up to begin backing up your computer. Regardless of whether you choose automatic or advanced settings, you can select files for backup at any time. Thank you for watching.
System requirements
Windows 8.1 32- and 64-bit
Windows 10 32- and 64-bit
Windows 11 64-bit
Windows 11 64-bit ARM (Except Webroot Total Protection)
macOS 13 (Ventura®) with Apple M-series ARM or Intel® processors
macOS 14 (Sonoma®) with Apple M-series ARM or Intel® processors
macOS 15 (Sequoia®) with Apple M-series ARM or Intel® processors
Internet access
Google Chrome® 11 and newer
Internet Explorer® version 11 and newer (Windows XP IE8)
Microsoft Edge® (partial support)
Mozilla® Firefox® version 3.6 and newer Opera 11 and newer
Android™ Mobile Security:
Android™ operating system version 13 and above
Android™-compatible device with at least 200 MB of free storage space
Security for iPhone®
iOS version 15 and newer
iPhone or iPad with at least 26.4 MB of free storage space
